Honey Glazed Chicken Legs

Lucas Schneider
| 12-10-2026
 · Cate team
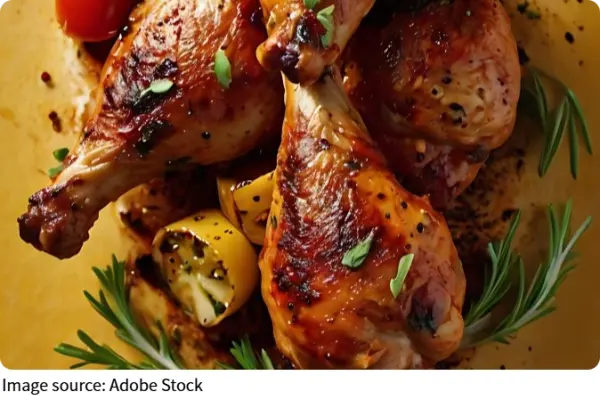
Beautifully browned chicken legs are always welcome at the table, especially when they are coated with a glossy honey glaze and fragrant herbs. Crispy skin, juicy meat, and balanced seasoning come together in a recipe that feels special without requiring complicated techniques.
Whether served for a weekend gathering or a comforting family dinner, these chicken legs are full of flavor and surprisingly easy to prepare.
Ingredients
This recipe relies on steady oven heat and a simple glaze to create caramelized chicken with tender, juicy meat. The seasoning and glaze use everyday pantry items. You will need:
- 6 chicken legs
- 2 tablespoons olive oil
- 2 teaspoons paprika
- 1 teaspoon garlic powder
- 1 teaspoon onion powder
- 1 teaspoon dried rosemary
- 1 teaspoon dried thyme
- 1 teaspoon brown sugar
- 1 teaspoon sea salt
- 1/2 teaspoon black pepper
- 1 teaspoon lemon zest
- 2 tablespoons honey
- 1 tablespoon lemon juice
This makes 6 chicken legs, with the honey and lemon juice kept aside for the glaze.
Steps
Start with the seasoning, which needs a short rest before roasting:
1. Preheat the oven to 200°C and line a baking tray with baking paper.
2. Pat the chicken legs dry with paper towels.
3. Combine the olive oil, paprika, garlic powder, onion powder, rosemary, thyme, brown sugar, sea salt, black pepper, and lemon zest in a bowl.
4. Rub the seasoning evenly over each chicken leg and let it rest for about 30 minutes.
The rest gives the flavors time to settle in. Once the chicken is seasoned and rested, move on to roasting and glazing:
5. Arrange the legs on the tray with a little space between each piece and roast for 30 minutes, until the skin begins turning golden.
6. Stir together the honey and lemon juice, then brush the glaze over each leg.
7. Return the tray to the oven for another 12 to 15 minutes, until the glaze is shiny and lightly caramelized.
8. Transfer the chicken to a serving plate and rest it for about 5 minutes before serving.
The chicken is ready when the thickest part reaches an internal temperature of 74°C. The short rest at the end helps keep the meat juicy while the glaze settles into a glossy finish.
Tips for Even Roasting
A few details make the difference between good roasted chicken and a memorable meal. Coating every surface with the seasoning mixture helps develop balanced flavor throughout the chicken. Gently lifting the skin where possible allows a little seasoning to reach the meat underneath without tearing the skin.
Keeping the oven temperature consistent helps the skin brown evenly while allowing the meat to cook through without drying out. Avoid opening the oven too often, as escaping heat can lengthen the cooking time.
Why the Glaze Goes on Late
Honey creates an attractive finish but browns quickly. Applying the glaze during the final stage of cooking allows it to caramelize gently while keeping its pleasant sweetness and glossy appearance. This is why the honey and lemon juice are left out of the first seasoning rub.

Sides and Storage
These chicken legs pair well with roasted potatoes, mashed potatoes, steamed vegetables, grilled corn, or a crisp green salad. Keeping the side dishes uncomplicated allows the chicken to remain the highlight of the meal.
Allow any leftover chicken to cool completely before storing it in a sealed container in the refrigerator for up to three days. Reheat in a 170°C oven until warmed through to maintain the crisp texture of the skin.
Serve the chicken legs soon after resting, while the skin is still crisp and the glaze glossy. If you are cooking ahead, leftovers also make an excellent filling for sandwiches, wraps, or grain bowls the next day. For a larger group, use a second tray rather than crowding the legs, so each piece still has space to brown.