No-Bake PB Oatmeal Bars

Caroll Alvarado
| 10-07-2026
 · Cate team
Hi, Friends! When life gets busy and your schedule feels like it has no breathing room, the last thing you want is to spend an hour in the kitchen just to grab a quick snack.
That is exactly why these no-bake peanut butter oatmeal bars are about to become your new best friend. They are simple, hearty, and honestly so satisfying that you might just find yourself making them on repeat.
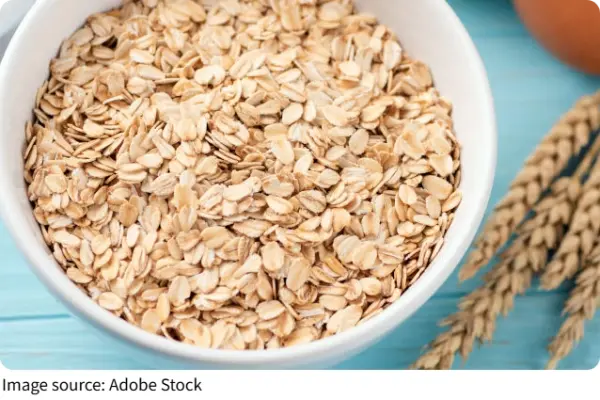
What You Will Need
Here is everything that goes into these delicious bars. The ingredient list is short and sweet, which is part of what makes this recipe so lovable.
Dry ingredients:
- 3 cups old-fashioned rolled oats
- 1/2 cup ground flaxseed
- 1/2 teaspoon cinnamon
- 1/4 teaspoon salt
Wet ingredients:
- 1 cup creamy peanut butter
- 1/2 cup honey
- 2 teaspoons vanilla extract
Optional mix-ins:
- 1/2 cup chocolate chips
- 1/4 cup sunflower seeds or pumpkin seeds
- 1/4 cup dried cranberries or raisins
That is truly it. No fancy equipment, no obscure pantry items, just wholesome staples you likely already have at home.
How to Make Them
Step 1: Line an 8x8 or 9x9 inch (20.32 × 20.32 cm) baking pan with parchment paper and set it aside. This makes it so much easier to lift the bars out later.
Step 2: In a large mixing bowl, combine the rolled oats, ground flaxseed, cinnamon, and salt. Give it a good stir so everything is evenly distributed.
Step 3: In a small saucepan over low heat, gently warm the peanut butter and honey together, stirring until the mixture is smooth and easy to pour. Remove from heat and stir in the vanilla extract.
Step 4: Pour the warm peanut butter mixture over the dry oat mixture. Stir everything together until all the oats are fully coated. If you are adding any mix-ins like chocolate chips or dried fruit, fold them in now. Do keep in mind that if your mixture is still very warm, the chocolate chips will melt, which is totally fine if you love that gooey effect.
Step 5: Transfer the mixture into your prepared pan and press it down firmly and evenly. Really press hard here because this is what keeps the bars from crumbling later. Use the back of a spoon or your hands to get a nice compact, even layer.
Step 6: Place the pan in the refrigerator for at least two hours, or until the bars are firm and set. Once set, lift them out using the parchment paper, place on a cutting board, and slice into your desired bar sizes.
Tips and Storage Notes
A few things worth knowing before you dive in. First, the type of peanut butter matters. Natural peanut butter that is runny and drippy works best here because it blends smoothly with the honey. If your peanut butter is thick and stiff, warm it a little longer to loosen it up before mixing.
Second, if you want to swap out peanut butter, almond butter or sunflower seed butter both work wonderfully here and give a slightly different but equally delicious flavor.
For storage, keep the bars in an airtight container in the refrigerator, where they will stay fresh and chewy for up to one week. You can also freeze them for up to three months. Just stack them with small pieces of parchment paper between each bar so they do not stick together, and pull one out whenever you need a quick snack on the go.
Common mistake to avoid, skipping the pressing step. If you do not press the mixture down firmly enough, the bars will not hold their shape and will fall apart when you try to eat them. Take an extra minute here and it will absolutely pay off.
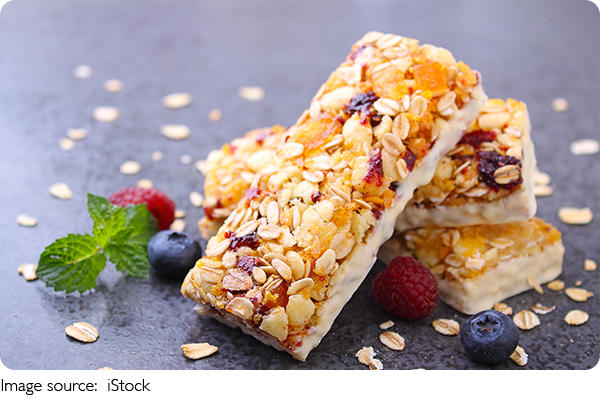
These little bars are genuinely one of those snacks that make you feel good from the inside out. Wholesome ingredients, real energy, and zero stress to prepare. Next time your schedule feels overwhelming, remember that taking care of yourself does not have to be complicated. Give these a try this week and let us know which mix-ins you went with. You deserve something delicious, even on the craziest days!