Brownie Cake Made Easy

Arjun Mehta
| 29-05-2026
 · Cate team
Hi, Friends!
So you know that moment when you can't decide between a brownie and a piece of chocolate cake?
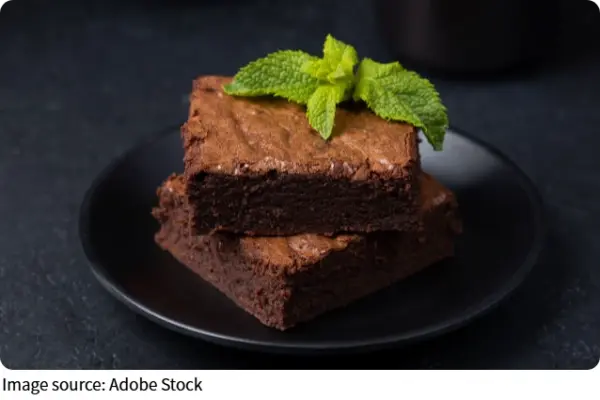
What if you didn't have to choose? That's exactly what this brownie cake recipe is -- the love child of two dessert legends, living its best life in your oven. It's a cross between brownies and chocolate cake, made with a handful of pantry staple ingredients. Think of it as the "why not both?" answer to every dessert dilemma you've ever had.
What Makes This Recipe So Special
These light, fluffy, and moist brownies are so easy to make and are a chocolate lover's dream. The magic behind that dreamy texture? It's all about the ingredient ratio. The brownie's texture comes from having more oil and sugar than flour, giving it a moist, tender, and fudgy crumb. Meanwhile, for a light cake texture, air is added by whipping the cream and gently folding it into the batter. Two techniques, one legendary result. It's basically the dessert equivalent of wearing both a cozy sweater AND looking stylish at the same time.
Ingredients You'll Need
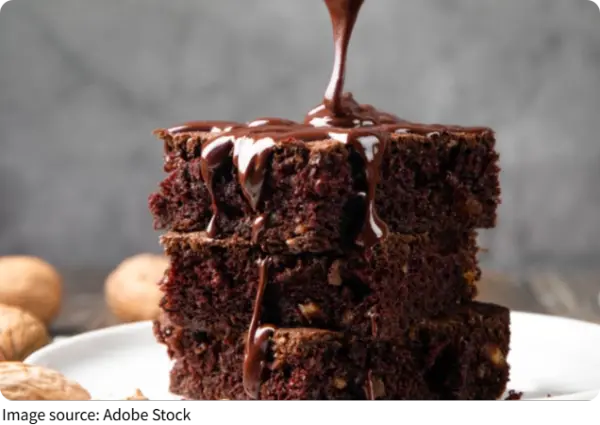
Here's your shopping list -- and yes, you probably already have most of this stuff sitting in your pantry right now:
- 1 cup (2 sticks) unsalted butter
- 2 cups granulated sugar
- ¾ cup unsweetened cocoa powder
- 1½ cups all-purpose flour
- 1 tsp baking powder
- ½ tsp baking soda
- ½ tsp salt
- 4 large eggs
- 2 tsp vanilla extract
- ½ cup whole milk
- 1 cup chocolate chips
Brownies made with cocoa powder have a deep chocolate flavor and a nice soft texture. You can use regular unsweetened cocoa powder or get an organic cocoa powder. Just make sure you're NOT using Dutch-processed -- Dutch processed or black cocoa powder is much milder in flavor, which basically means less chocolate punch. And we are not here for less chocolate. Whole milk adds the best moisture, but 2% milk works just as well.
Step-by-Step Instructions
Preheat the oven to 350°F. Grease and line a 9x13 pan with spray oil and parchment paper and set aside.
In a saucepan, heat the sugar, butter, and cocoa powder over medium heat. Using a wooden spoon or spatula, stir the mixture intermittently until the butter melts. Remove from heat.
While the butter mixture is melting, in a medium mixing bowl add the flour, baking powder, baking soda, and salt. Using a whisk, stir to combine.
Once the butter melts, transfer the mixture to a large bowl. Add in the eggs and vanilla. Using a wooden spoon, spatula, or whisk, stir gently and incorporate the eggs until they have combined with the butter and chocolate mixture.
Then pour in your milk and stir. Fold in the dry ingredients until just combined -- no need to go wild here. Stir in the chocolate chips for even more gooey chocolate goodness. Pour batter into your prepared pan. Bake for 30-35 minutes until a toothpick inserted in the center comes out with a few moist crumbs. The cake is ready when a toothpick comes out with a few moist crumbs.
Pan Choice Matters More Than You Think
Don't just grab whatever pan is closest and call it a day. Metal pans are typically the best choice for brownies. They heat up quickly and distribute heat evenly, leading to brownies with a perfectly cooked interior. On the flip side, a glass pan heats up slower and retains heat longer, which can sometimes cause the brownies to cook more slowly and leave the edges overcooked while the center stays underdone. Nobody wants a half-raw brownie in the middle. That's not "gooey" -- that's just "raw."
Tips, Substitutions, and Storage
One pro tip that will change your baking life: if you can, measure the flour and cocoa powder with a food scale. Otherwise, gently spoon the flour into your measuring cup and level it off with a flat edge. Scooping straight from the bag packs the flour in and throws off the whole recipe. Precision is your best friend here.
Also, it is very important to use room temperature eggs. Adding 7 large chilled eggs will create a cold batter that won't bake properly. Let those eggs sit on the counter for 30 minutes before you start -- it makes a real difference.
As for storage: these store beautifully and freeze well, so you can always have a sweet bite on hand. After a day or two, freeze the brownies to keep them fresh. You can wrap them individually in beeswax paper or put cut brownies into a sealed container. To defrost, simply remove from the freezer 20-30 minutes before you want to eat them at room temperature.
Whether you're baking these for a crowd or keeping them all to yourself (we won't judge), this brownie cake is one of those recipes that just never fails. With just 10 minutes of prep time, these cake brownies are perfect for busy weeknights or when you want to whip up a quick treat. Now go preheat that oven, Lykkers -- your chocolate destiny is waiting!