No-Bake Chocolate Cheesecake

Nora
| 28-05-2026
 · Cate team
Hi, Friends!
You know that moment when a chocolate craving hits so hard it practically slaps you in the face?
You want something rich, creamy, and decadent, but absolutely nobody has time to fuss with a complicated baking project. Well, good news: this No-Bake Chocolate Cheesecake requires zero oven time and delivers a rich, creamy filling packed with chocolate flavor, a crunchy chocolate cookie crust, and all the satisfaction of a dessert-shop stunner. Think of it as your shortcut to cheesecake glory, and yes, your friends will absolutely think you worked way harder than you did.
Why This Recipe Is a Game-Changer
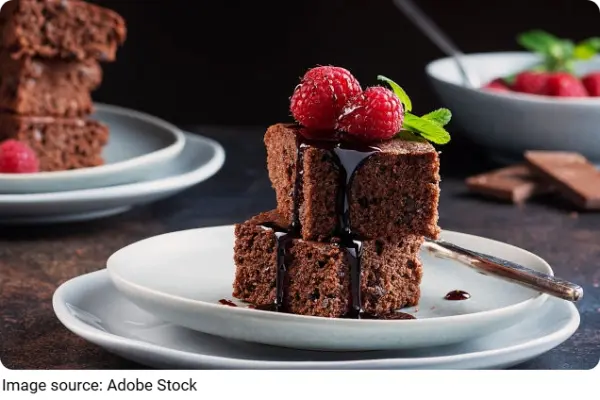
Let's be honest, most people avoid making cheesecake at home because of all the drama. Water baths, cracked tops, oven temperature anxiety. This recipe throws all of that out the window. Since there is no baking involved, you do not have to worry about oven heat or cracked tops. The prep time is ridiculously fast. Just pop it in the fridge after putting all the ingredients together, and it will set on its own in about 5 to 6 hours. That is basically the dessert equivalent of doing your homework the night before and still getting an A.
What You Will Need
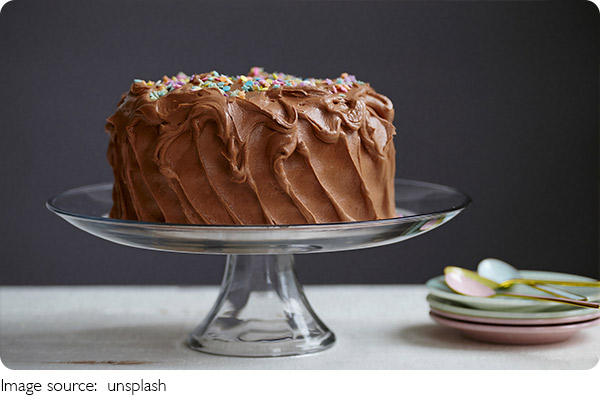
Here is your full shopping list before we get started:
For the crust:
- 24 Oreo cookies (about 2 cups of crumbs), filling included
- 4 tablespoons unsalted butter, melted
For the filling:
- 16 oz (450g) full-cream cream cheese, softened to room temperature
- 1/2 cup granulated sugar
- 3 tablespoons unsweetened cocoa powder
- 8 oz (225g) semi-sweet chocolate, melted and slightly cooled
- 1 1/2 cups heavy whipping cream
- 1/2 cup powdered sugar
- 1 teaspoon vanilla extract
For the topping:
- Whipped cream, chocolate shavings, or fresh berries as desired
Use high-quality chocolate that comes in bars rather than chips. If you prefer milk chocolate, that is perfectly fine too, but the filling will be sweeter. And on the cream cheese front, reduced-cream cream cheese can give a softer set and sometimes releases water as it chills, so always use full-cream blocks for the creamiest, most stable results.
Step 1: Build Your Crust
Grind the Oreos in a food processor until you have fine crumbs. Big chunks can cause your crust to crumble when you cut into it. Do not remove the cookie filling. You will grind the whole cookie because the filling helps to bind the crust together, along with the butter. Mix the crumbs with the melted butter until it resembles damp sand. Line a 9-inch springform pan with parchment paper in the bottom and grease the sides. Press the mixture into the bottom and up the sides of the pan, then place the crust in the fridge while you make the filling. Using a springform pan is highly recommended because it makes removing the cheesecake from the pan so much easier.
Step 2: Make the Silky Filling
This is where the magic happens, and it is honestly easier than sending an email. In a large mixer bowl, beat the cream cheese, sugar, and cocoa powder together until well combined and smooth. Add the melted chocolate and mix until well combined and smooth. In a separate bowl, add the heavy whipping cream, powdered sugar, and vanilla extract and whip on high speed until stiff peaks form. Then gently fold the whipped cream into the chocolate cream cheese mixture. The batter can take a little patience to bring together, especially when folding the whipped cream into the chocolate mixture. It is doable by hand and preferable to using an electric mixer, but if you must use one, do so just briefly on low speed.
Step 3: Assemble and Chill
Pour the gorgeous, glossy filling into your chilled crust and smooth it out like you are spreading happiness across a canvas. Place it in the refrigerator for at least 6 hours to firm up. Overnight is even better, if you can resist the temptation. Once set, pipe swirls of whipped cream around the edge of the cheesecake and top it off with chocolate shavings or your desired toppings.
Tips and Common Mistakes to Avoid
A few rookie mistakes to sidestep before you dive in. First, spreadable cream cheese has additives in it that will prevent your cheesecake from setting up properly, so stick to the block kind. Second, chocolate chips have stabilizers in them to stop them from melting, which get in the way of good flavor, so use a quality bar chocolate instead. Third, the sweet spot for cacao percentage is around 50%, as those lower than 45% are a bit too sweet, while those over 60% can be too bitter. Finally, if you need to speed up setting time, you could pop it into the freezer instead of the fridge. And for storage, cover the cheesecake and refrigerate any leftovers.
Now that you have the full playbook, go make this dreamy chocolate cheesecake and prepare to receive compliments you absolutely deserve. Share it with friends, bring it to a gathering, or quietly eat it by yourself with zero regrets. Either way, Lykkers, this one is a keeper!