Raspberry Mirror Glaze Tart

Mukesh Kumar
| 28-05-2026
 · Cate team
Hi, Friends!
Ever wanted to create a dessert that looks like it belongs in a fancy restaurant display case?
This raspberry mirror glaze tart is your answer. That shiny, reflective surface isn't just for professional pastry chefs anymore. Once you see how straightforward the process is, you'll be making this gorgeous treat for every special occasion.
Why This Tart Works for Home Bakers
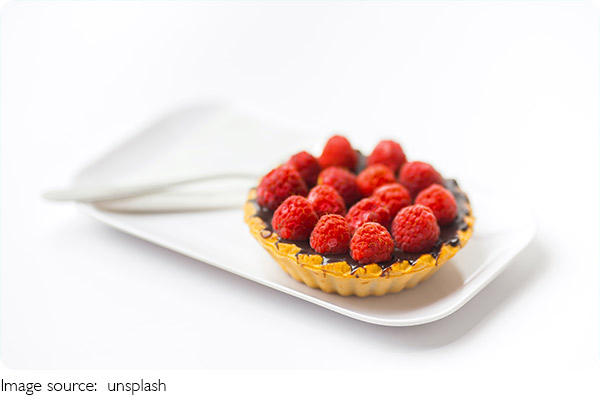
This elegant dessert is surprisingly simple to achieve for home cooks. Making this chocolate tart at home is significantly more cost-effective than purchasing a gourmet version from a patisserie, and many ingredients are common pantry staples. You probably have most of what you need already sitting in your kitchen. The technique might sound intimidating, but it's really just a matter of following the steps carefully and letting the glaze work its magic.
Essential Ingredients
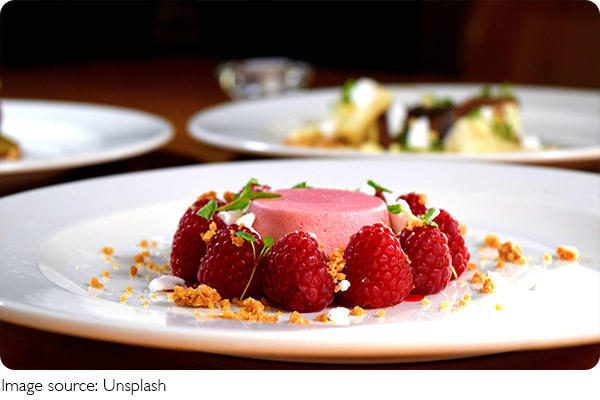
For the tart crust, you'll need a prepared 9-inch tart crust, either your favorite store-bought or homemade. For the chocolate ganache filling, gather 1 cup heavy cream and your choice of dark chocolate. The raspberry glaze requires 1/4 cup (50g) granulated sugar to sweeten the raspberry glaze and balance its tartness. You'll also need 1 teaspoon (3g) unflavored gelatin, which is crucial for setting the mirror glaze and giving it that signature shine. A tiny pinch of sea salt in the chocolate ganache enhances its richness, while a splash of vanilla extract can round out the overall flavor profile beautifully.
Step-by-Step Instructions
Start by preparing your crust. Press your preferred 9-inch tart crust into a standard 9-inch tart pan, then bake for 10-12 minutes at 350°F (175°C) until the edges look lightly golden, and allow it to cool completely on a wire rack until it's cool to the touch.
For the ganache, heat 1 cup heavy cream in a small saucepan over medium heat until it just begins to simmer. Pour this over your chocolate and stir until smooth and glossy. Pour the ganache into your cooled tart shell and let it chill completely.
For the mirror glaze, prepare your raspberry puree by blending fresh or frozen raspberries until smooth. If the puree includes seeds, strain them out, and if using fresh puree, strain it to remove the seeds. Combine the puree with sugar and heat gently. Add your bloomed gelatin and stir until dissolved. Let it cool at room temperature, stirring occasionally to prevent a skin from forming, for about an hour until it measures 90°F on a digital thermometer. Be sure any dessert that's going to be finished with mirror glaze is thoroughly chilled, and that the glaze is between 85°F to 88°F before using.
Tips and Notes
If you want something smooth and more mirror-like, choose raspberries as your base, and if it's the super-smooth and shiny mirror finish you're looking for, be sure to thoroughly strain the glaze before using. Be sure the cake is thoroughly chilled, or the glaze will melt the frosting, and don't remove the cake from the freezer until the glaze is the right temperature, your equipment is in place, and you're ready to pour.
Use frozen berries when fresh are out of season to save money without sacrificing flavor in your glaze, and consider store-bought tart shells for even quicker assembly and maximum convenience. For an extra smooth glaze, strain the raspberry puree twice through a fine-mesh sieve.
Storage and Make-Ahead Options
Store leftovers covered in the refrigerator for up to 4-5 days, and for meal prep, prepare the tart up to the ganache chilling stage the day before, then add the mirror glaze a few hours before serving. The finished tart can be frozen for up to 1 month.
Streamlined steps mean less active cooking time, allowing you to focus on other tasks while the tart chills, and the make-ahead options are a huge time-saver for busy schedules. Many home bakers find that making the ganache the night before leaves just the quick glaze and final chill for the next day.
This raspberry mirror glaze tart really does deliver that restaurant-quality presentation without the stress. Your friends will be taking photos before they even taste it, and once they do, they'll be asking for the recipe. Give it a try this weekend and see how a little patience and precision can turn simple ingredients into something truly show-stopping.